With the introduction of iOS 13 and iPadOS apple introduced the ability to create an Animoji. You can use these custom emojis in iMessage on most apple iPhones and iPads. This guide will walk you through how to create an Animoji. You will also learn how to export the Animoji for use on social media websites like twitter or facebook.
Navigation to the Name and Photo Sharing Settings
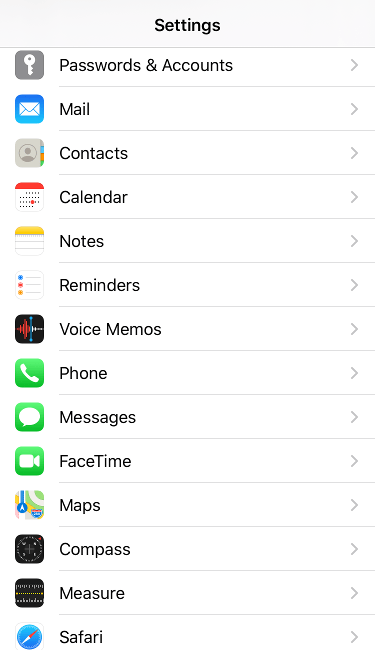
- Tap the Settings icon on your iOS or iPadOS home screen
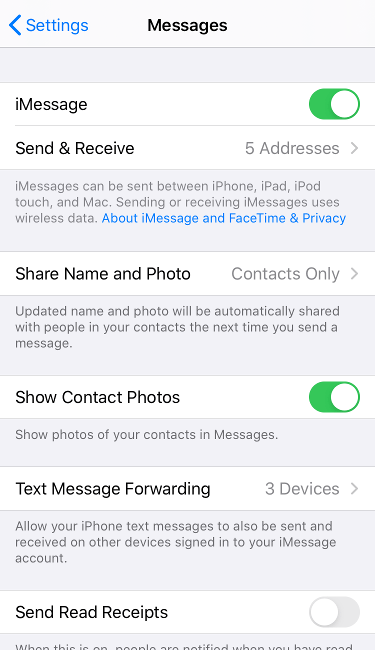
- Tap Messages
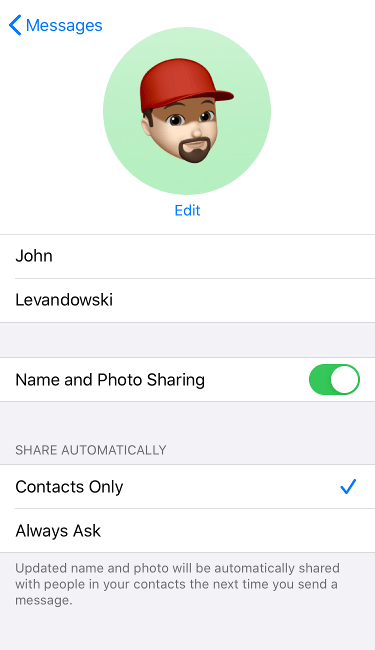
- Tap Share Name and Photo
- Tap the Edit button below the image
Create iMessage Animoji
If you already have an Animoji created you can skip to the next section of this guide.
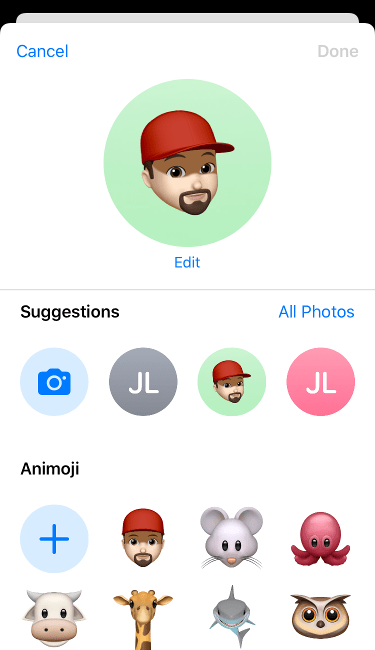
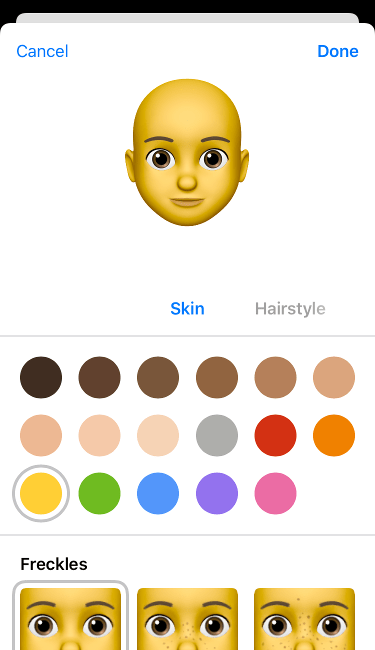
To create a new Animoji tap the plus icon in the Animoji section. Then follow the screen prompts to create your new Animoji, pose, and background color.
Export iMessage Animoji
You should be back on the photo sharing edit screen. If you somehow got lost on how to get to this menu, here is the navigation:
- Tap the Settings icon on your iOS or iPadOS home screen
- Tap Messages
- Tap Share Name and Photo
- Tap the Edit button below the image
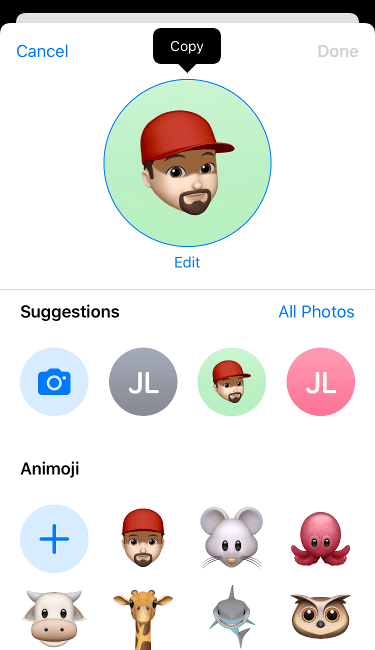
To export your Animoji you can long tap the image on the photo sharing edit screen like you see below. Then tap the copy button to copy the image to your clipboard.
Now that the Animoji image is in your clipboard. Paste the image into iCloud drive or any cloud storage provider you use. You can also paste the image in an email and mail it to yourself.
I have found that the size of the image when copied from an iPad is larger than that from an iPhone.
So if you’re looking for higher resolution, try an iPad. If you are looking for more tips and tricks on what you can do with iOS 13, pick up a copy of the iOS 13 Guide.
